Pegboard Kids Room
Thanks to Behr for sponsoring this post. If you have been here before, you know I have been painting with Behr for years. As always, this project and opinions are all mine.
I often have ideas that no one understands. And by no one, I mean my husband.
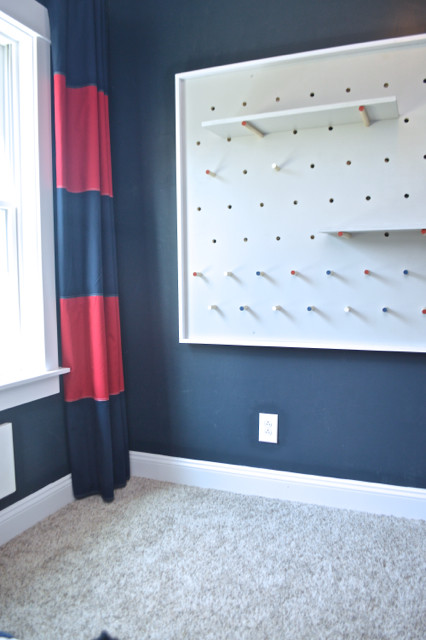
This DIY pegboard project was one of those ideas. Since moving into the house, we knew we needed to find some storage solutions for Henry's tiny (10×10) room – and I was set on a full wall of DIY pegboard. Ryan nodded his head with glazed eyes. He had no idea where I was going with this.
But after finishing this wall, Ryan looked at me and said, "I totally didn't understand. But now I do. This is awesome."

And my son is in love with this new pièce de résistance. Obsessed would be a better word. He may never leave this tiny space. And who could blame him? He has everything he ever needs.
Costumes.
Now that I spoiled the big reveal, let's talk about how we created this GIANT WALL OF STORAGE from about $80 in materials.
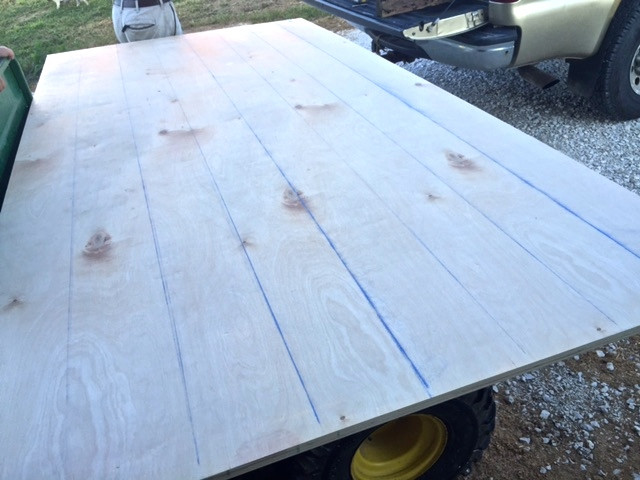
It started with a 4×8 sheet of birch plywood (3/4 inch). We spaced the pegs apart by 6 inches, so we started by creating chalk lines every 6 inches to keep it on the straight and narrow.
Then, Ryan marked a spot every 6 inches on each line. (We offset the holes every other row.)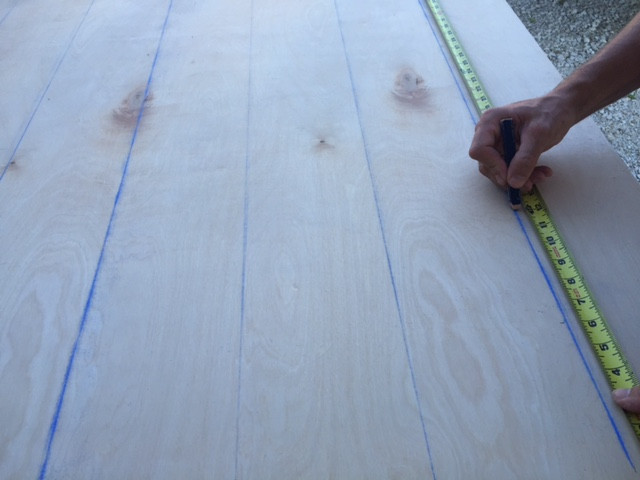
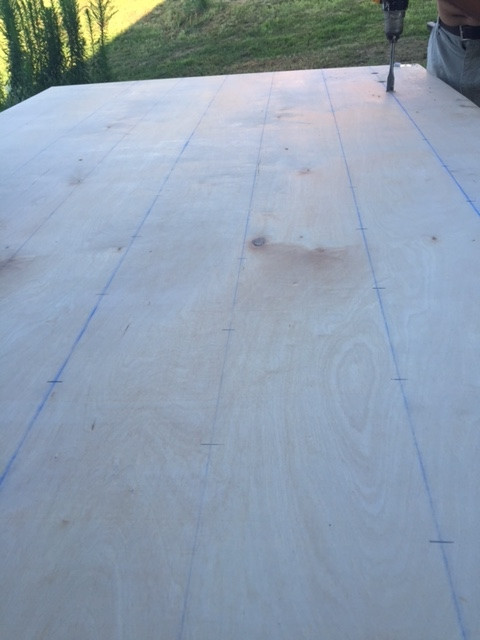
Then, he made the holes with his drill and a 3/4 inch bit.
With a little time, we had this. At which point, it was time to sand and paint.
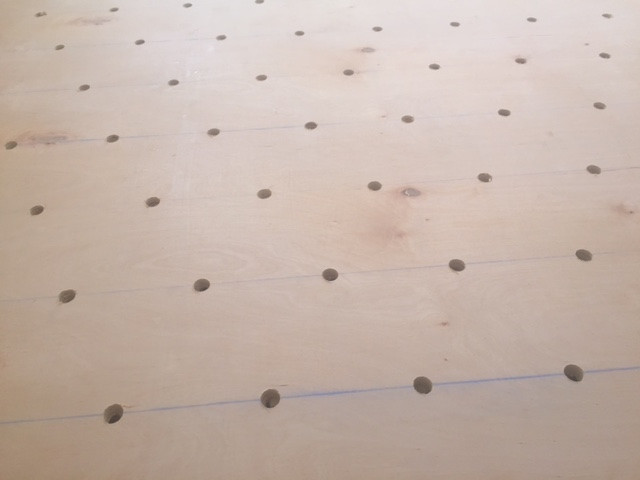
I would recommend sanding and painting before you install – just because I noticed lots of drips and drops when I was painting around the holes.
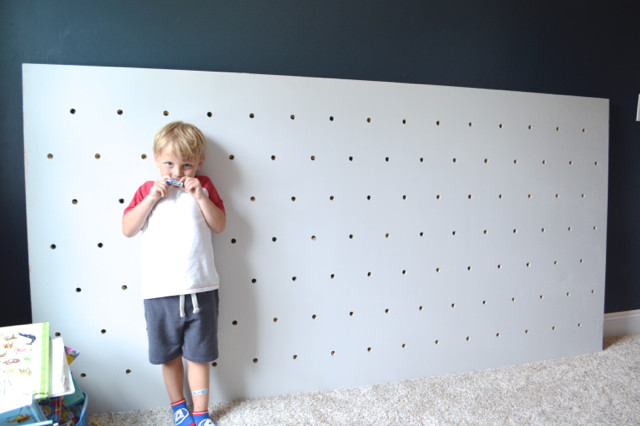
Henry wanted the board to be silver. So in my world, that meant BEHR MARQUEE® Interior Paint in Dolphin Fin 790C-3, the perfect light gray (I used satin finish).
Henry didn't help at all. So don't let this photo fool you. But you can see how large the board is. It's also heavy, so installing it properly was important so it doesn't crash on my 4-year-old.
Ryan started by attaching scrap boards around the edges of the pegboard. This allows the board to be spaced away from the wall by about 3/4 inch, which gives you space to push a peg in each hole.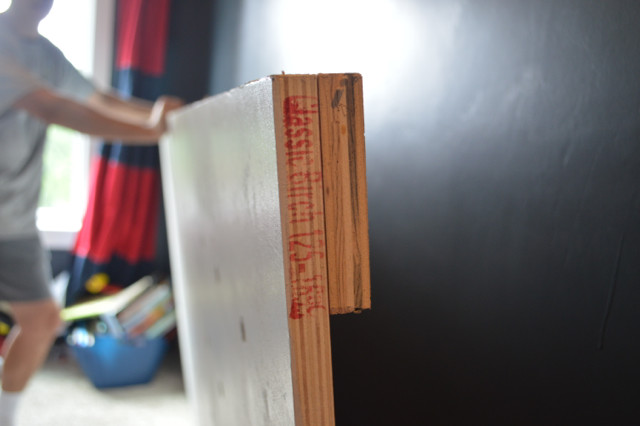
We figured out where we wanted it, leveled it and FOUND THE STUDS. (Which is really important with something this heavy.)
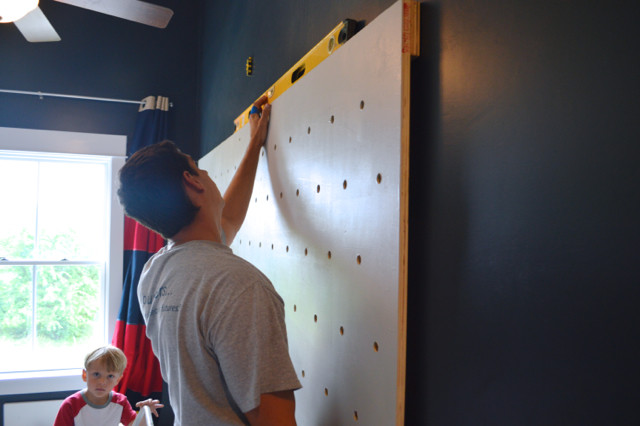
Then, he used a MASSIVE screw to attach it to the wall. Yes. We just drilled right through both the plywood and the back board. He did this four times on the top – each time into a stud.
I'd like to insert in a joke about my stud right here. But I'm too mature for that.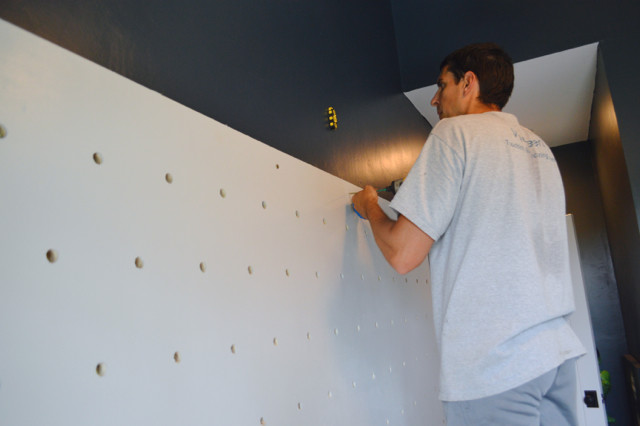
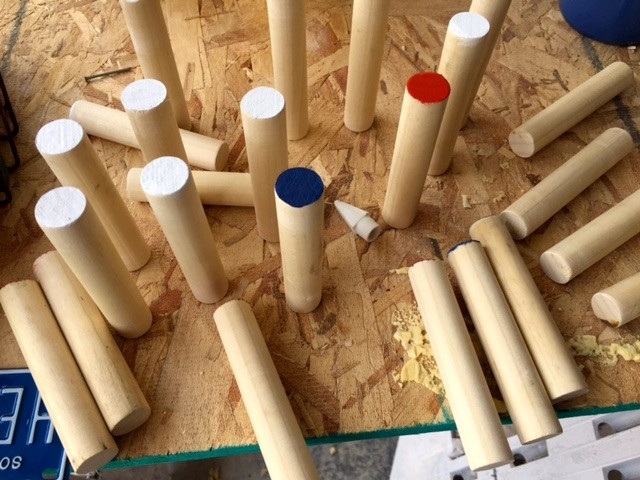
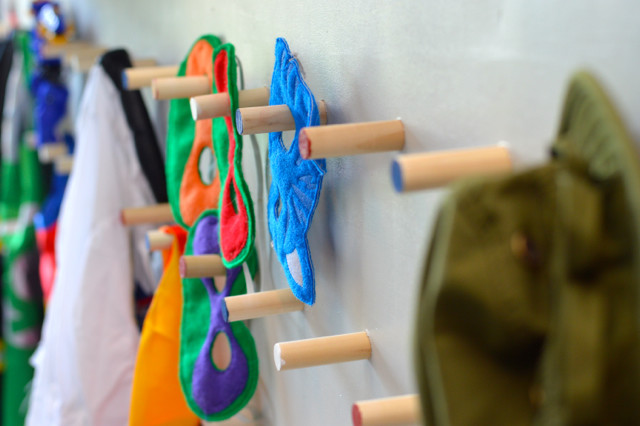
Next up – the pegs! Because we created our own board, we needed to create our own 3/4 inch pegs that fit tight inside the holes.
Ryan cut the pegs to 4 inches and then sanded the raw edges.
I wanted to paint the entire peg, but was afraid that when I moved them, it would ruin the paint. So we decided to just paint the round edge. Henry's favorite colors are Captain America red, white and blue. So, we used BEHR PREMIUM Plus Ultra® Interior Paint in Ultra Pure White PPU18-06, Antique Red S-H-190 and Seared Gray T15-2 for the pegs.
Once they were dry, we pushed them into the various holes.
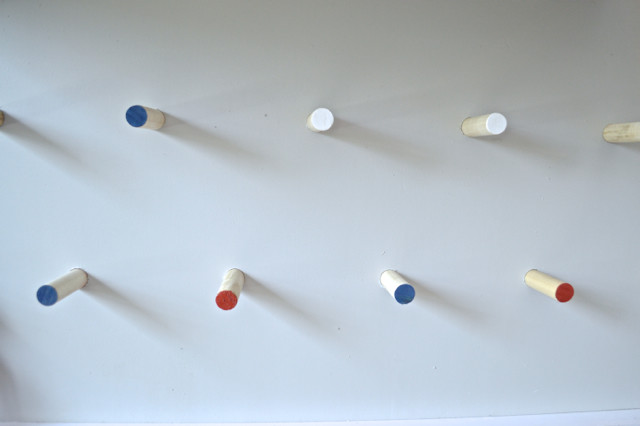
There was no official pattern – just willy nilly.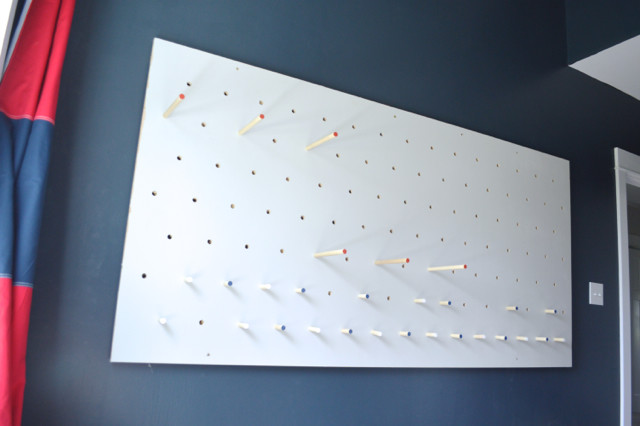
The final step was trimming the entire board out with scrap boards. I painted them in Ultra Pure White PPU18-06 and then Ryan installed them with an air nailer, right to the edge of the plywood. He mitered the corners, too.
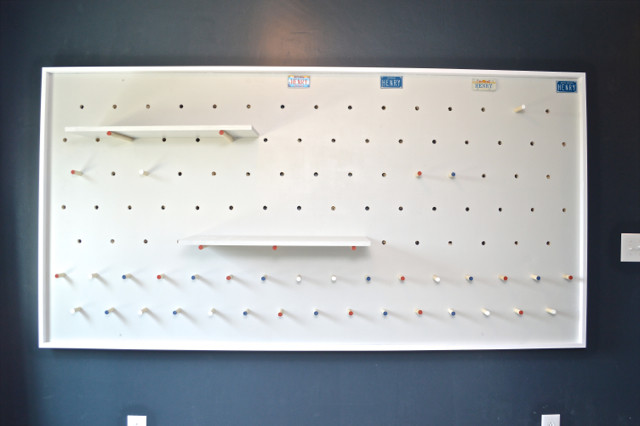
It makes the whole piece feel more finished and avoids a gap between the board and the wall. We also cut boards down to be used as shelves (with 10 inch pegs).
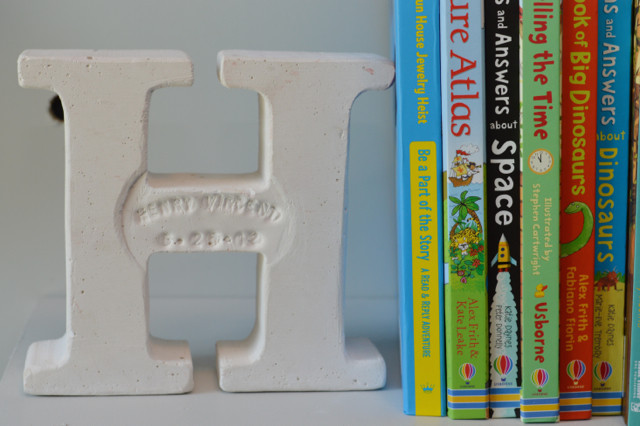
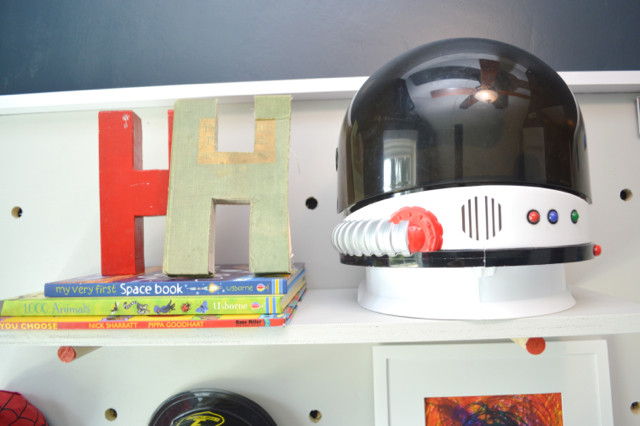
After touching up the paint and filling holes, Henry and I spent the morning arranging his favorite stuff. He has a lot of favorite stuff.
He can really only reach the first three or four pegs right now. Which is okay – it gives me a chance to display some other things above.
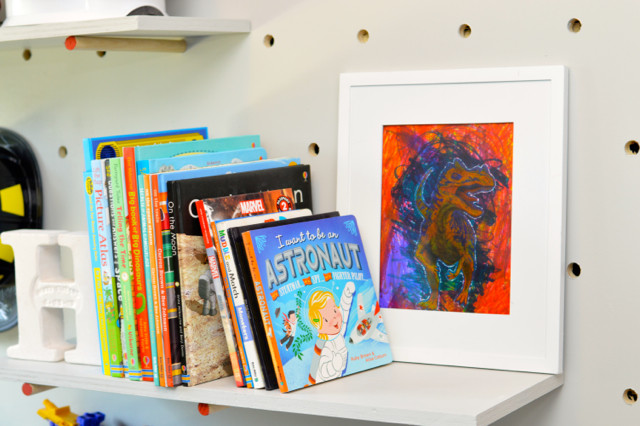
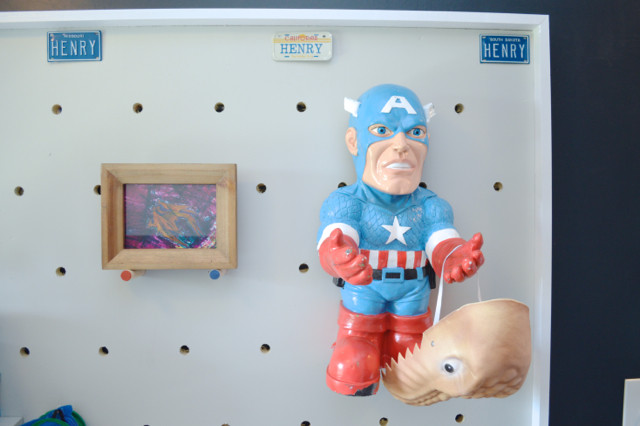
He was especially excited when I brought in frames for his dino artwork. It's crazy how the littlest things can send kids over-the-moon.
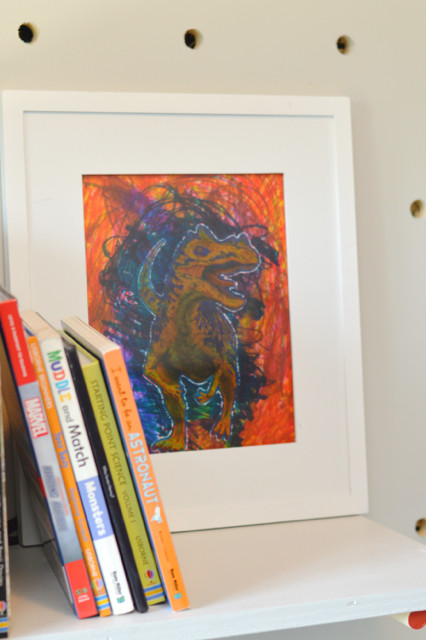
I also think I may add a few piece of twine through the holes to hang photos and artwork from clothespins. There are so many options. (And this could work so well in many spaces.)
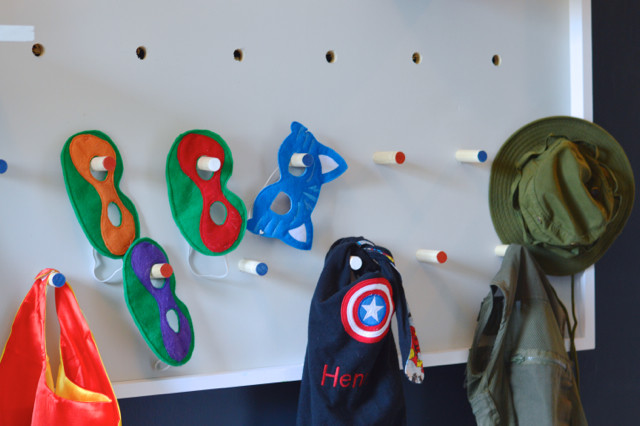
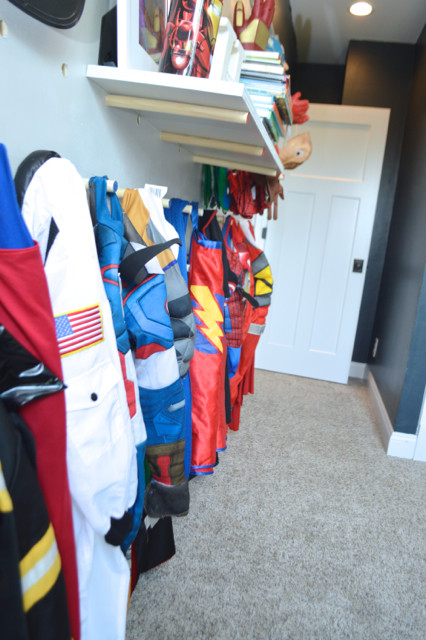
The pegs work for almost any costumes, clothes, hats and masks.
And not only does the peg board keep them off the floor, it also keeps them accessible to use for Henry and his friends. (It's always a costume party at the Woodwards.)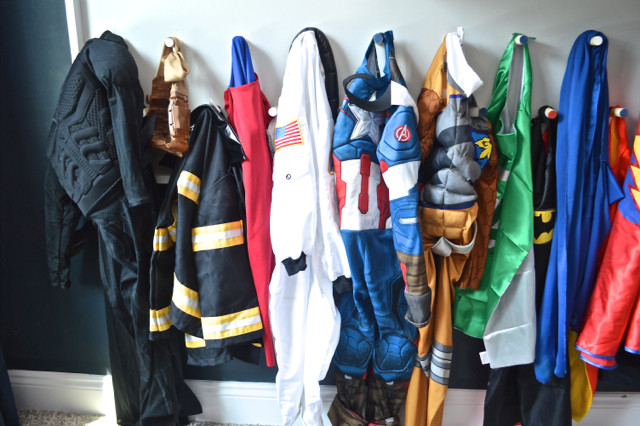
And my design-loving heart likes that this is an aesthetically pleasing solution with the modern, painted pegs.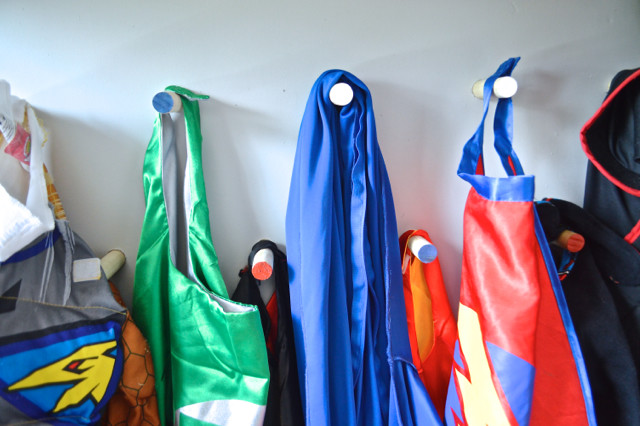
The best part of the DIY pegboard is that it's a really flexible solution for storage – when he outgrows his costumes, we can move pegs around (they aren't glued in), hang artwork, clothes, hats, more shelves …. the sky is the limit.
So, that's Henry's newest addition to his room. I'll be sharing the rest of the room soon, so stay tuned.
GIVEAWAY CLOSED
$100 HOME DEPOT GIVEAWAY!!!
But first …. one person will win a $100 Home Depot gift card from Behr in celebration of its Dream Tiny sweepstakes. Use it to kick-start your own small space storage dilemma! (You'll need a gallon or two of Behr paint, of course.)
To enter, tell me what color paint you would use for a small space project below.
(Giveaway open to U.S. readers only. Giveaway winner will be chosen randomly on August 17 and 10 a.m. Giveaway sponsored by Behr Paint.)
About BEHR Dream Tiny Sweepstakes
For its Dream Tiny sweepstakes, Behr will be giving away a CYPRESS® tiny house RV built by Tumbleweed Tiny House Company. This grand prize will be beautified with BEHR MARQUEE® Exterior and BEHR PREMIUM PLUS® Interior paint, and outfitted with premium fixtures from Delta Faucet and Liberty Hardware. The grand prize will also include up to $25,000 in cash and a $1,000 The Home Depot® gift card. Additional prizes will also be given away—learn more at BehrDreamTiny.com.
Linking to the Before and After Party at Thrifty Decor Chick.
Did you like this post?
We'd love to send you more inspiration and encouragement for your home. When you sign up below, we'll send you our free guide to save thousands on your next home project. Because your home shouldn't own you.
Woo hoo! Check your email to confirm your subscription and download your free guide.

Source: https://newlywoodwards.com/how-to-create-a-diy-pegboard-wall-for-versatile-kids-storage-plus-a-100-home-depot-gift-card-giveaway/


0 Komentar